
Table of Contents
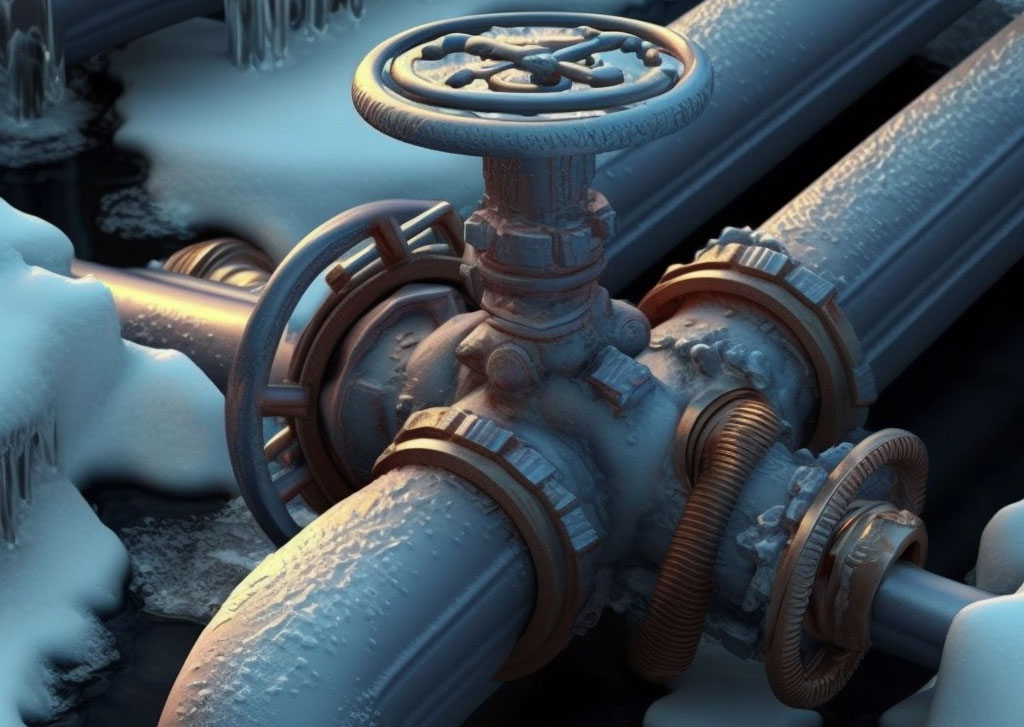
Unfortunately, all-to-often homeowners find themselves struggling with frozen water pipes. It only takes a short spell of temperatures dipping down below freezing in unheated areas for the water inside of your piping to freeze up. Knowing how to quickly address the issue can make all the difference in how much damage the issue creates for your home.
To the novice, frozen pipes may not seem like too big of a deal. You just unthaw the pipes, and the water flows freely again. However, that’s not actually the case. When water freezes, it expands. This means that the frozen water will push outward on your piping and can cause a number of issues, including bursting, distortion, leaking, and overall structural weakness.
One of the first questions that many homeowners find themselves asking after discovering frozen pipes in their homes is how long for pipes to thaw naturally. The key to reducing your risk of experiencing major damage to your piping is to get your pipes thawed out as quickly as possible. If you wait for the temperature to rise and your pipes to unthaw naturally, it will greatly increase your risk of bursting the pipes.
Top Signs of Frozen Water Pipes in Your Home That May Burst
Pipes that are in areas of your home that aren’t readily exposed to heat are at an increased risk for freezing. These areas can include in your garage, under your vanities, in a crawl space, and even piping that runs on an exterior house wall. Knowing the main signs of a frozen pipe can make all the difference in remedying the problem sooner rather than later.
Some of the most common signs of a frozen pipe include:
- No or slow trickle of water from facuet
- Bulge or crack in a pipe
- Banging and whistling sounds
- Puddles, rings, or wetness on ceilings and drywall
- Frost on the pipe’s exterior
It’s important that you take the time to determine just where your piping is frozen at. In most cases, you’ll notice that there is only a section of piping that is frozen, not the entire water supply system.
By taking the time to narrow down where the frozen section is, you can focus your efforts on thawing out that particular area to get the best and quickest results possible. As always, make sure that you know where your main water shut-off valve is so that you can access it quickly if your pipe does burst.
Homeowner's Guide on How to Thaw Frozen Pipes Quickly and Safely
When you first notice that your pipe is frozen, it’s time to react. The sooner you can get it thawed out, the lower the risk of bursting your pipe. There are a couple of methods that you can utilize to heat up your pipes, including a blow dryer, thermostatically controlled heat tape, and even a space heater. Avoid using any open flame, like a blow torch, as it can damage your piping and even present a fire risk.
There is a lot of information out there about what to do if your pipes freeze. However, trying to read every detail can get daunting. There are only a few basic precautions that you’ll want to keep in mind when unthawing frozen pipes. First, keep your faucet turned on as it will allow the ice melt to exit the pipe and alleviate the built-up pressure. Second, work from the faucet towards the frozen area to allow the ice melt to exit as quickly as possible.
How Long for Pipes to Thaw Naturally Without the Application of Heat
When it comes to allowing your pipes to thaw out naturally, there are many different factors at play that will determine how long it takes. These include factors like the temperature outside, weather shifts, pipe location, size of the frozen section, and so forth. It can take hours, days, or even in some cases, weeks for your frozen pipes to thaw out naturally.
When you opt for thawing your pipes out naturally, it can greatly increase your risk of experiencing damage to your piping. It’s always recommended that you attempt to speed up the thawing process to reduce this risk.
Using heat is by far the best method for thawing out pipes and reducing your risk of experiencing a burst pipe. Remember to avoid any heating device that has an open flame, as it could cause further damage to your home’s piping.
Best Tips for Preventing Frozen Pipes in the First Place
One of the best things you can do when it comes to frozen pipes is to prevent the issue from happening in the first place. A good place to start is to identify the weak areas of your existing plumbing system. You want to assess where all of your water piping is and see which areas don’t receive direct heat.
These are going to be areas underneath your cabinets, in your garage, and in your crawlspace. You want to focus on insulating these pipes to make it harder for the cold air to penetrate through to the water inside of the piping. There are a ton of different insulation options out there to keep your pipes from freezing. One of the most popular is pipe insulation sheathing. This is a thick, light material that can be cut to length and slipped right onto your existing piping.
Another method to prevent frozen water pipes from occurring is to install thermostatically controlled heated cables. These cables get attached directly to the exterior of your unheated piping. Whenever the thermostat connected to the cables senses that the temperature is getting near freezing, it will turn on the heat. This will keep the pipes from getting too cold and the water inside from freezing up.
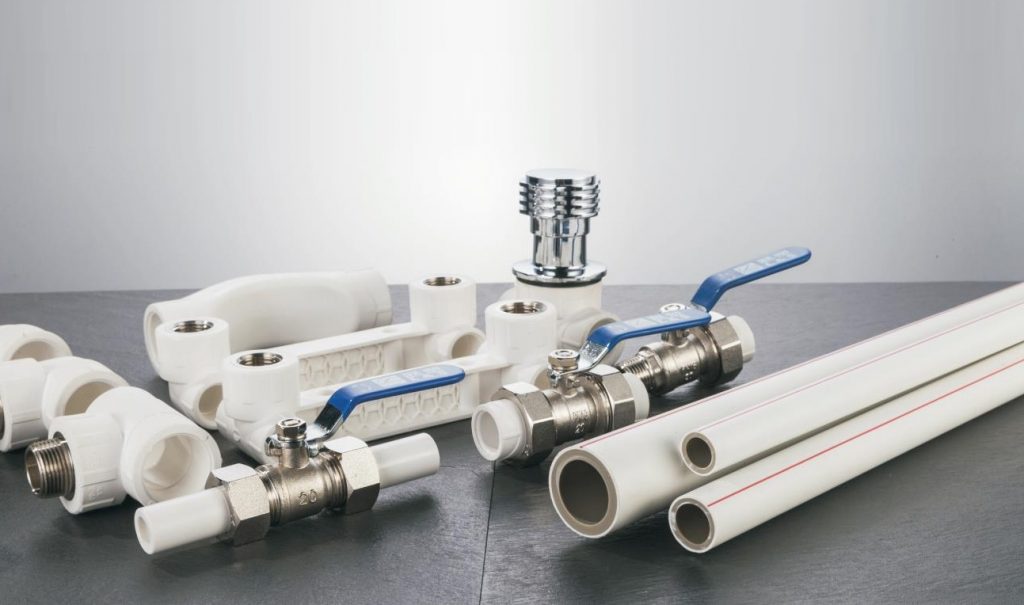
When it comes to having long-lasting and quality water supply pipe in your home, you can trust LESSO. They supply flexible plumbing pipes made of PVC, PPR, UPVC, steel-plastic composite, and aluminum-plastic composite. Whether you’re replacing a burst pipe or are looking to upgrade your old piping, look no further than LESSO.
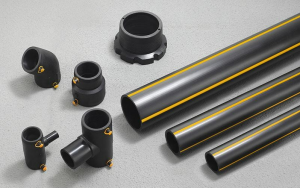
PE Water Supply Pipe Construction Process and Plan
Polyethylene (PE) is the simplest polymer organic compound, and the most widely used and recognized thermoplastic material in the world today. If you don’t know
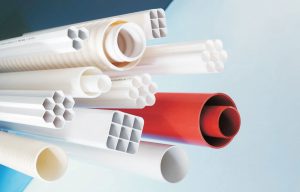
What’s the Difference Between PVC Pipe and PVC Conduit
Table of Contents PVC or Polyvinyl Chloride pipes use vinyl and plastic materials. We use these pipes in plumbing systems. If you do not want