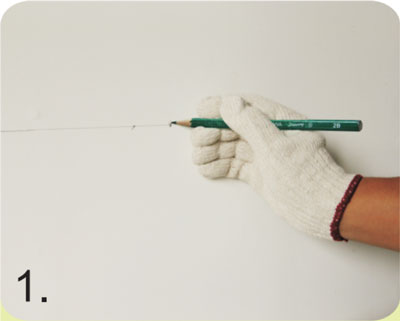
Step 1. Draw a line on the wall according to the direction of drainage and slope, to confirm the location of gutter lock.
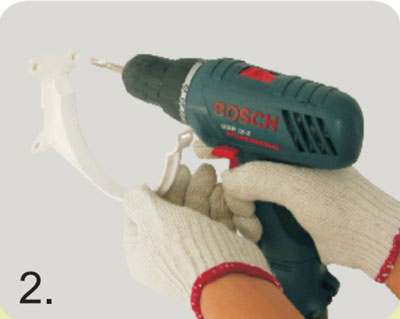
Step 2. Drill holes on the fixed point, then firm bottom bracket and eave bracket on the slope roof with expansion screws.
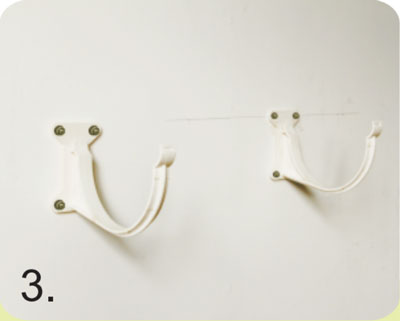
Step 3. One accessory shall be supported with two bottom brackets. (Bottom bracket is used for supporting the accessory and eave bracket for half-round rain gutter)
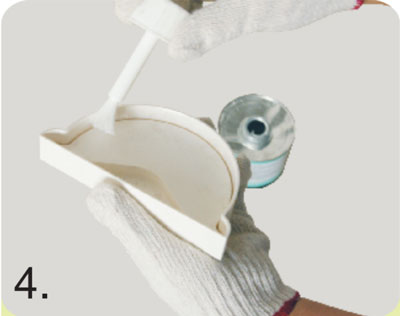
Step 4. Coat the connection surfaces of the end cap evenly with PVC solvent cement. The coating depth shall be 15~20mm. Then put the half-round rain gutter end into end caps and keep lmin. (Other accessories do not require to be coated with PVC solvent cement, except for end cap.)
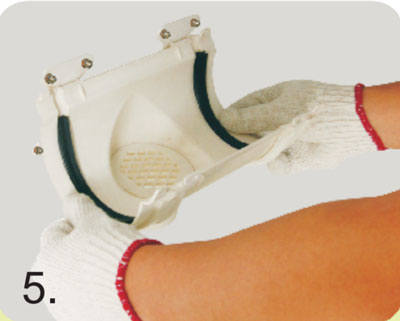
Step 5. Put the drop outlet into the installed bottom bracket.
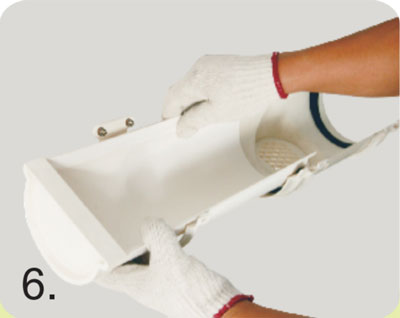
Step 6. The installed half-round rain gutter overlap the socket of drop outlet, then fasten.
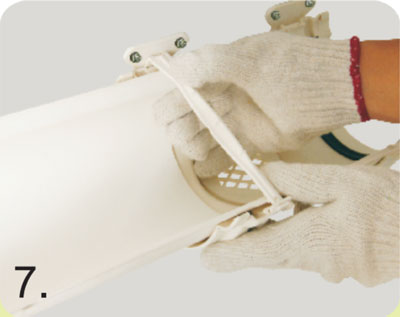
Step 7. Install the top bracket.
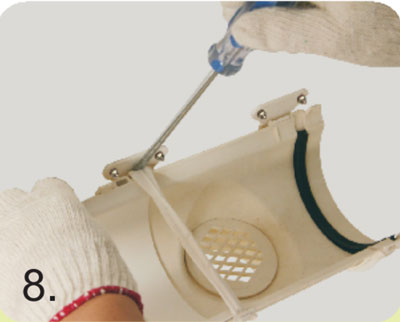
Step 8. Insert screwdriver into the bracket buckle to firm top and bottom bracket.
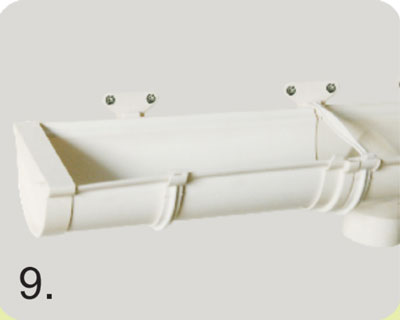
Step 9. Adjust the position after installation.