
Are you looking to install a sewer pipeline for your new home? But since the installation methods for sewage pipes are different in terms of different materials and diameters. The article below will only provide you with the basic information on how to install sewer lines. Please resort to the professionals before installing sewer pipe.
When is a New Drainage System Needed?
For the longest time, a new sewer line resonates to a new home or renovation of the current structures. Moreover, as the demand for houses increases exponentially, so does the need to expand and modernize the drainage systems. Drainage should be among the first things to be completed in a new building to avoid future problems which are difficult to correct.
Which Materials are Efficient for Sewer Pipe Installation
The critical element to consider while scouting for the sewer line from house to street is lifespan. Moreover, the time frame of materials will determine their ability to withstand natural conditions. Here are some of the common materials used.
1. Concrete
Currently, most experts postulate concrete as the go-to choice, especially for buried infrastructure. Moreover, concrete is meant to last for long with minimal maintenance needed. Concrete is readily available, resistance to rot and can be used in any situation.
Furthermore, concrete is eco-friendly and usually lasts for long periods without degradation. However, concrete requires regular inspections, and they are susceptible to breakage during installation; hence they require proper care and handling.
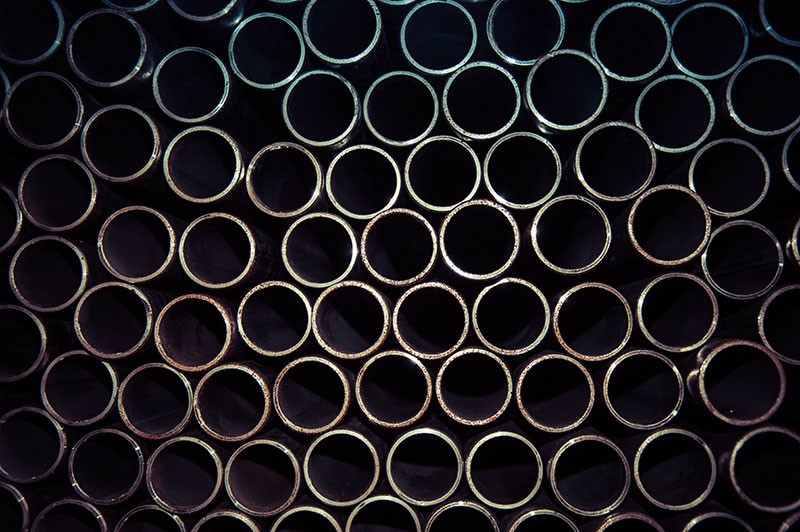
2. Steel
Steel pipes are durable, strong and resistant but has being gradually becoming unpopular. Keep in mind steel pipes come in two types: galvanized iron and cast iron. Among the drawbacks of using steel, they are prone to rust which reduces their longevity. Rust then necessitate frequent repairs and replacements. Additionally, steel is costly from creating them to procurement and transportation.
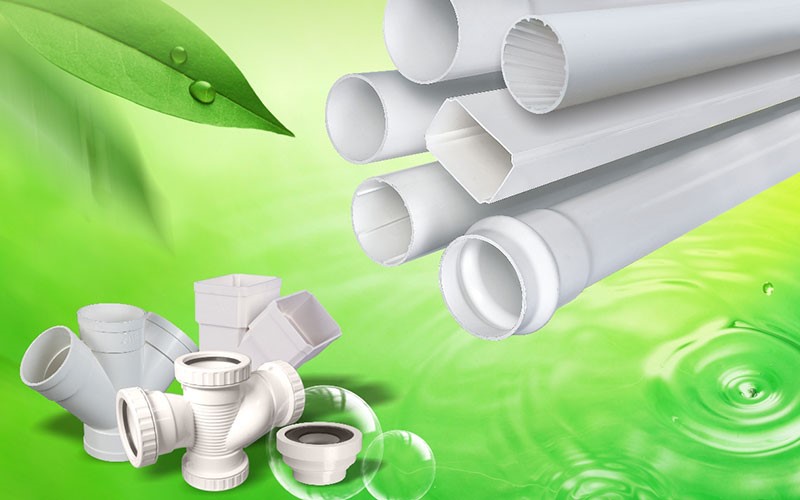
3. Plastic:
Most contractors love to refer to them as the first option due to their ease of use. Moreover, they can be procured in different lengths, lightweight and last for long. Furthermore, experts recommend the use of plastics, especially in areas prone to earthquakes. Plastic pipes are currently gradually replacing cast iron pipes. Since they are few problems with pipeline maintenance, and the plastic pipes also feature convenient construction and high strength.
The Process of Installation of Residential Sewer Line
The most challenging task is in the installation process, thus calling for expertise. Besides, the sewer pipe that links your house to the main sewer line or the municipal branch is known as a lateral. A lateral is a 4- inch pipe buried below the frost line in a sloped and well-prepared trench. The slope determines how the pipe will drain via the force of gravity.
Here are the procedures to follow when installing a new sewer line.
1. Determine the Pipe's Depth
Always begin by deciding the elevation of each pipe. Most residential installations start from the house’ main drain usually exist on the foundation. The line then proceeds to join with the city’s main branch at a connection point called a tap. You can use a GPS or laser level to determine the elevations.
2. Compute the Slope
The results gotten from the depth and the pipe’s length provides the basis for slope computations.
The total drop in elevation= Ending Elevation – Starting Elevation.
To get the Slope= (The total Drop) / (The entire run or length of the pipe)
The standard minimum slope for most laterals is usually 2 feet per every drop 100 feet of run or 2%. Even though the actual slope could be steeper than the target, the variation should be within the local code’s requirements. Moreover, a steep slope will favor running of liquids more than solids leading to clogs. Subsequently, a shallow slope will not generate sufficient velocity for efficient drainage.
3. Dig the trench and Lay the Bleeding
Proceed to dig the trench with caution to minimize disturbance of the soil. Soil disturbance can be minimized by compacting. This can only be done by having sufficient knowledge of the pipe’s termination point and digging a narrow trench. Moreover, ensure the canal is smooth, compacted and follows the desired slope. Use sand to slope the soil and fine-tune the area before laying the pipes.
4. Install the Pipe
Install each pipe starting with the lower end of the line and run towards the high elevation. The bell end of each pipe section should be installed facing up the hills to reduce leakages. At the house ends’ use of at least two cleanouts for easier access of the pipe during cleaning with sewer auger or during scoping.
5. Back Fill the Trench
Once the installation is complete and has satisfied all inspection requirements, proceed to backfill the trench. Begin with a layer of sand to eliminate voids and protect the pipe. Finish with added layers of soil while compacting each layer to prevent future settling.
How to Maintain Your Drainage and Sewer System
Ensure you regularly inspect the system by maintaining an annual or half a year checkup record. The maintenance process needs to have checkups of the soil condition, trees and roots invasion, and the sewer line’s overall condition.
Moreover, leaving your line unchecked for a long-time result to clogs. Ensure you hire a professional company to be offering you expert sewer line maintenance. Before hiring them, do due diligence on them to ascertain their competency.
Conclusion
Recommend Reading
Types of Pipes and Their Lifespans
Lifespan refers to the length of time piping should remain in functional condition without needing repairs or replacement. Homeowners should be aware of the expected
6 Things You Should Know About Drainage & Sewerage Pipes
There are many parts of the construction industry that are difficult to understand, but the differences and uses of drainage and sewer pipe are not too complicated